Setting up the Data Acquisition Agent
If your health center hosts your own EHR database locally or with a third party vendor, you can set up the Relevant Data Acquisition Agent (DAA) to extract and load data into your Relevant instance. Typically, this set up is done at the beginning of implementation.
You’ll need an account with manage data pipeline access to complete the following steps.
1. The DAA needs to be on a server that has access to the EHR database. Often, this means simply installing the DAA on a server within the health center’s network or the network within which the health center’s EHR database is hosted. Our technical overview document contains additional information on server requirements. Run the following steps from the server you have selected.
2. Create a directory for the DAA before starting the installer:
- Most customers put the DAA in C:\Relevant or C:\Relevant-DAA. We recommend making sure the folder is on a drive with lots of free space.
- It’s also important that the directory location is persistent — for example, do not use someone’s desktop if the desktop gets cleared when they log out.
- Later, you will need to set the installation directory in the DAA installer, to C:\Relevant or whatever directory you just created, so keep track of the location you’ve used.
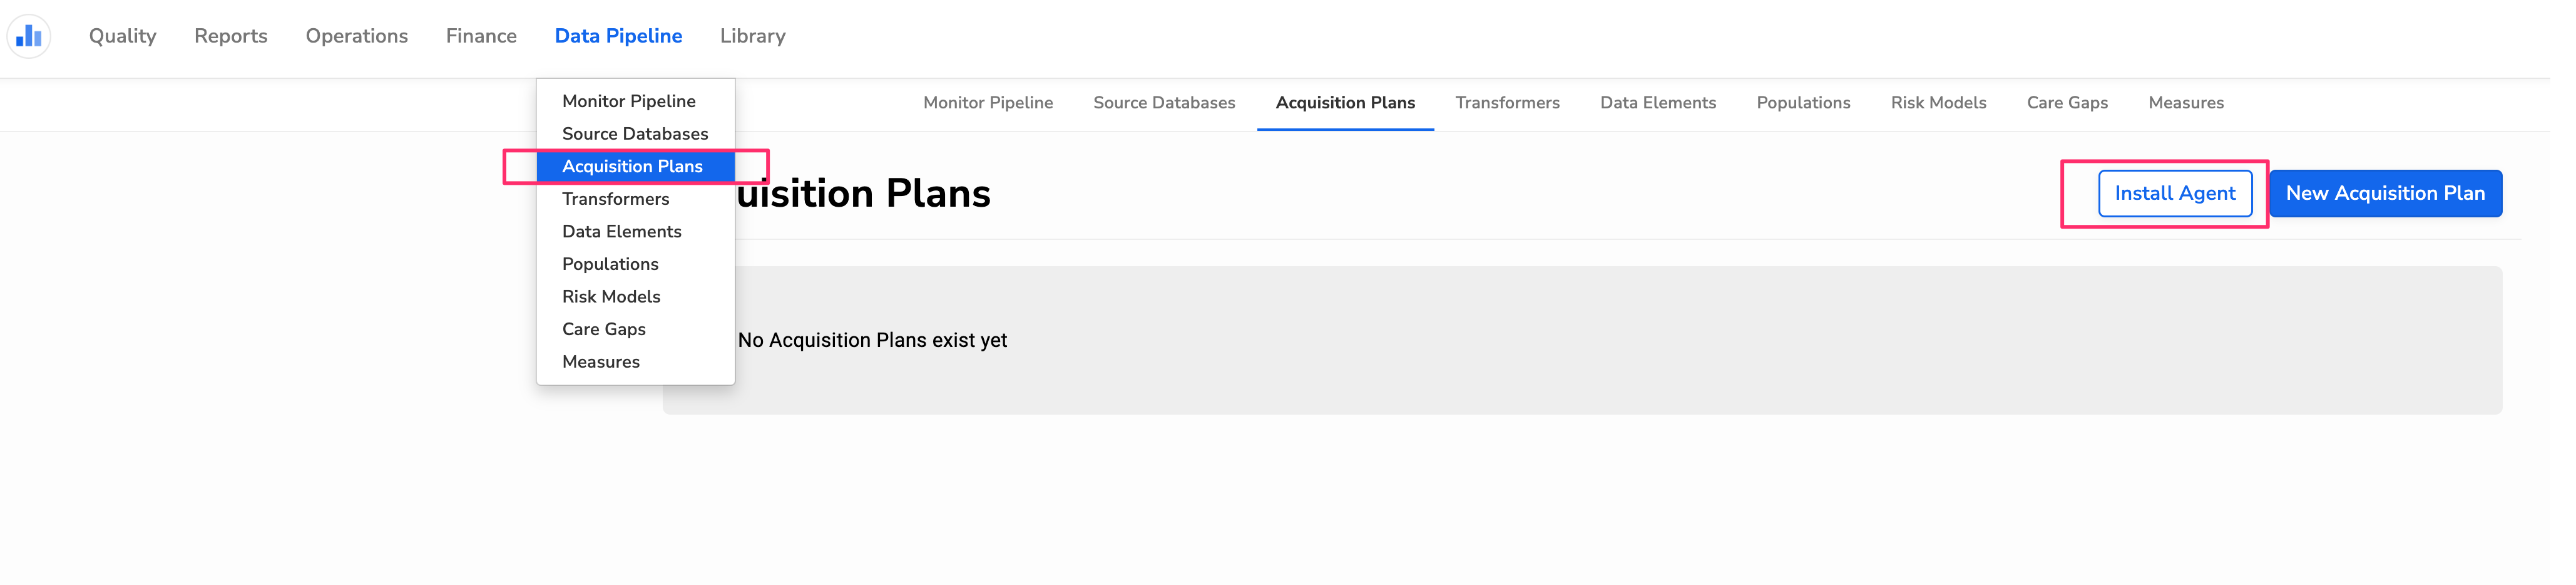
3. Open a browser and log in to Relevant. Navigate to Acquisition Plans and click “Install Agent”.
4. Follow the Windows Installation instructions that open up. Once installed, you should see the Relevant Data Acquisition Agent as a running service on your windows services app.
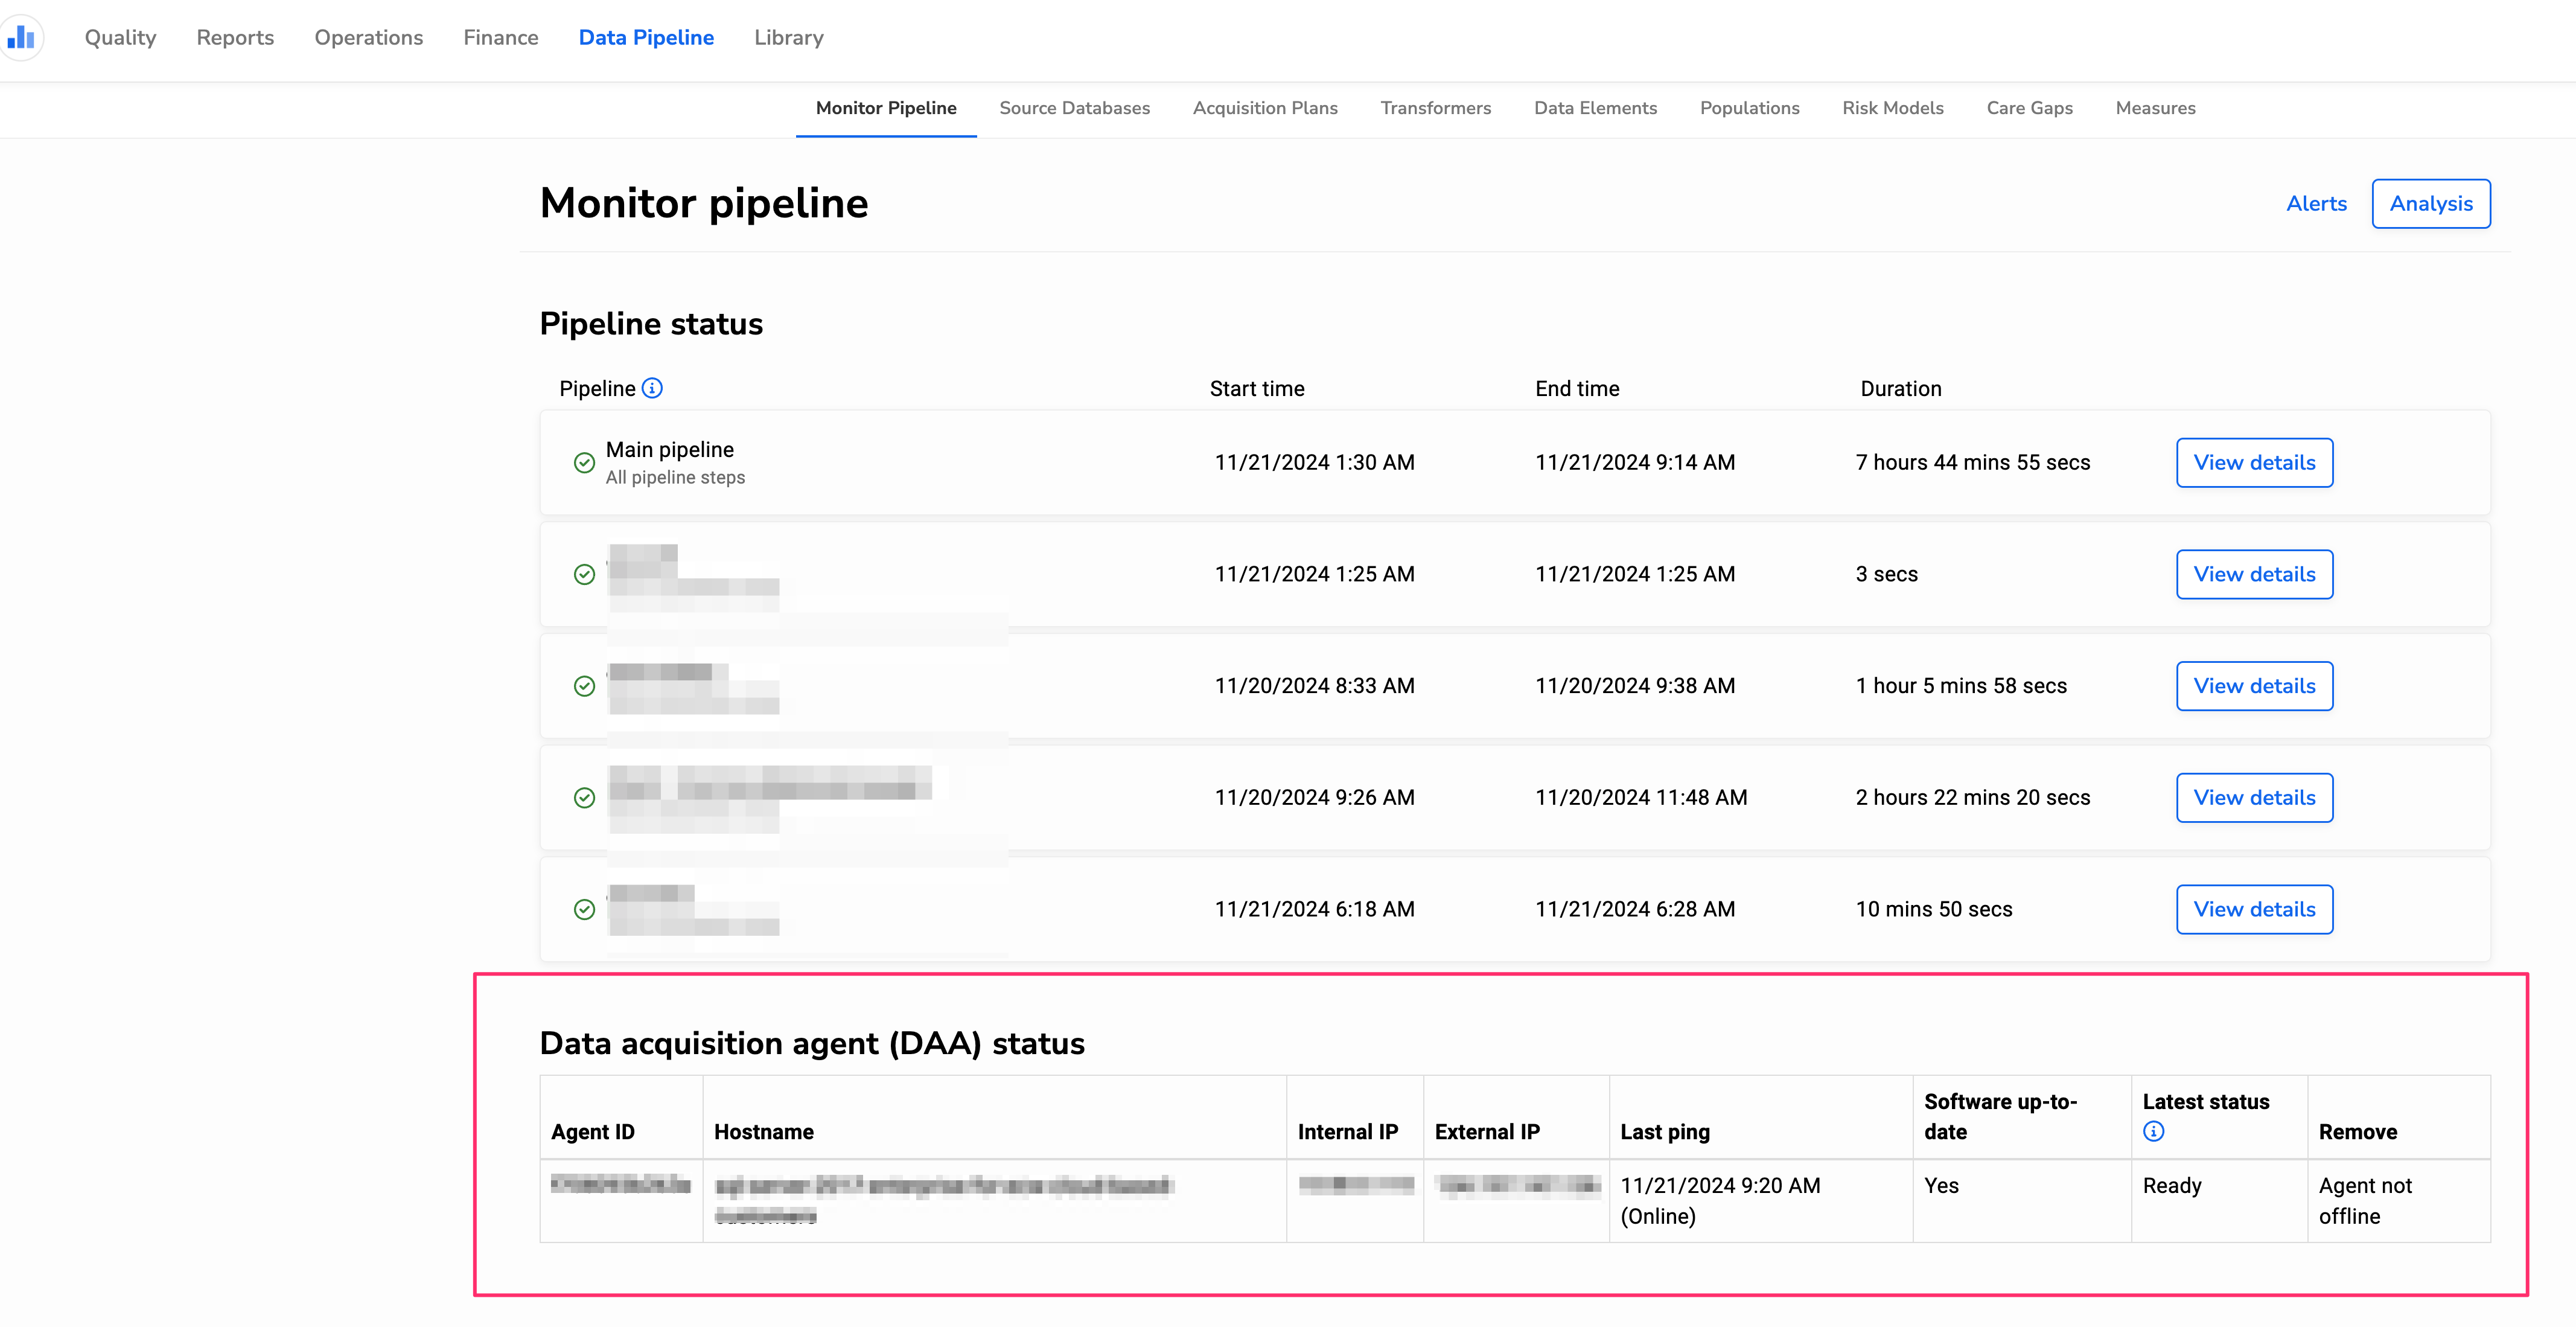
If the DAA is installed and running properly, you should see this DAA status section under Data Pipeline > Monitor Pipeline. If not, check in Windows Services and verify that the “Relevant-DAA” service status is “Running” (and if not, Start it).